
I just came across a deal to good to pass up and I’m now planning to swap in the 3.2 liter S52 motor (157k miles) from a 1997 BMW M3 in place of my current M50 (2.5 liter) motor! The compression numbers tested very well for this S52 with less than a 10 psi variance across all the cylinders so it looks to be in great shape. As they say, there’s no replacement for displacement!
I will also be installing my Vortech V2 centrifugal supercharger onto this engine. Basically I’m just going to remove the M50 long block (engine block + head but minus everything else) and plug in the S52 long block. This works very well as the external castings of both the block and the head are nearly identical for the M50 and S52 engines.
This is going to be a longer process that will take place over the next year but I’ll try to document as much as I can throughout the process. Luckily for me, the S52 will just be sitting on an engine stand during the entire process so accessibility will be fantastic and my E36 will be up and running the entire time with the M50 still installed. Let’s get to seeing what I bought and planning this process out!
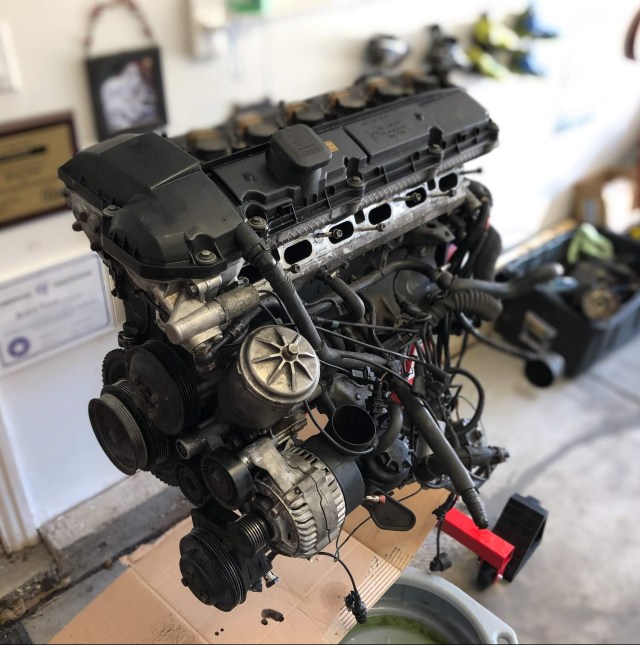
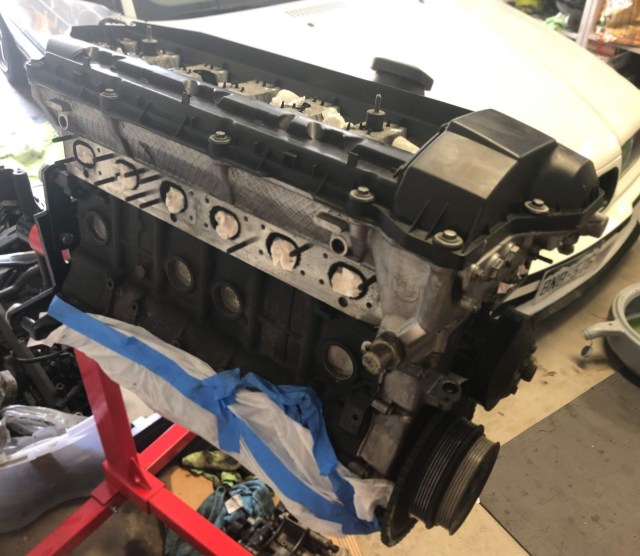
In the picture above, you can see how the S52 arrived. Most of the accessories and sensors were bolted to the side of the block but it was missing the intake and exhaust manifolds. As I stated earlier, my plan is to get this down to a long block so I need to remove everything bolted to the block and the head. That’s a lot of stuff that needs to come off!
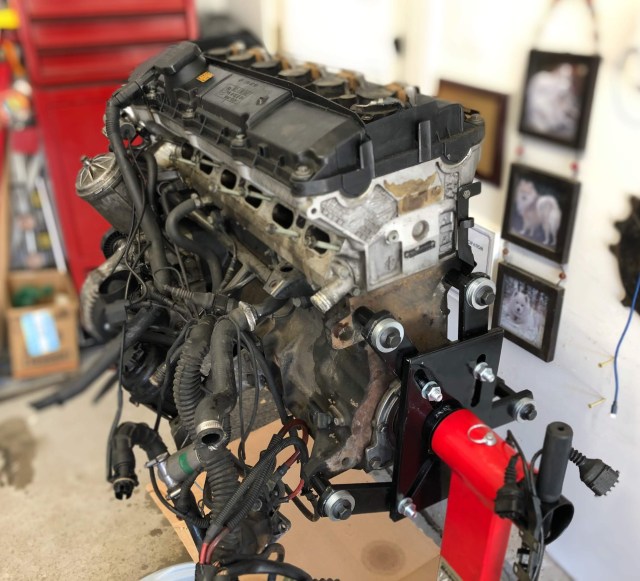
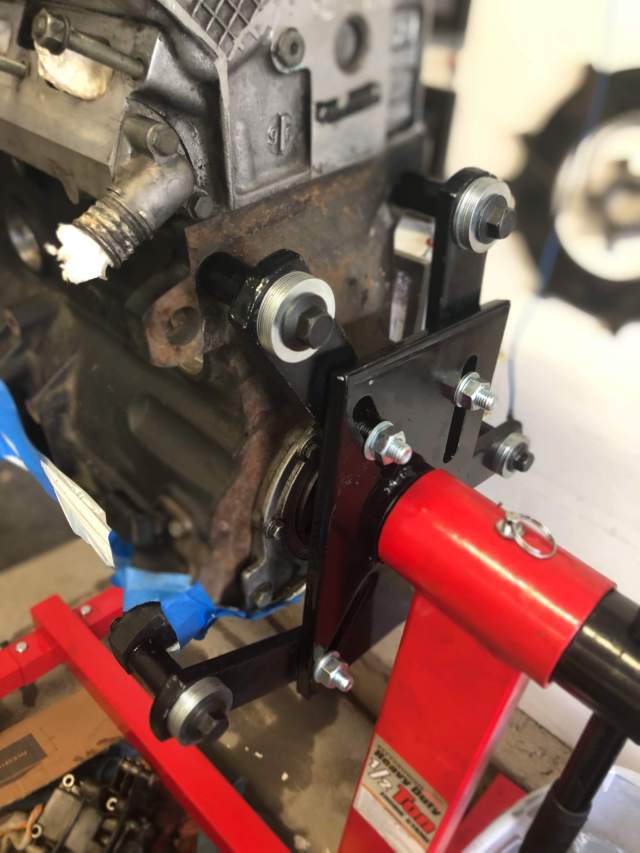
Here’s a picture of the back of the engine where you can clearly see the 1/2 Ton Harbor Freight engine stand. Below is a closer picture showing the engine mounted to the stand with M12-1.75×90 Class 10.9 coarse thread hex flange bolts. I simply used washers to get the bolts inserted into the block the correct length. Your bolt length will vary based upon the engine stand that you use.
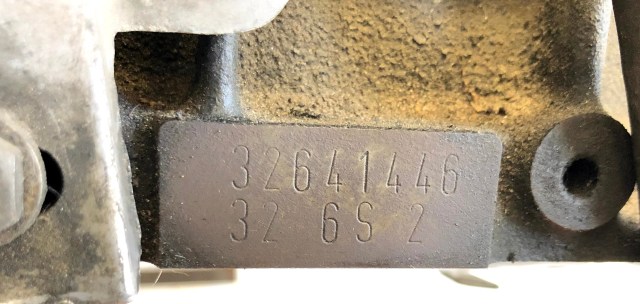
As I was removing everything, I found the stamping on the driver’s side of the block, right above the oil pan towards the rear that denotes the displacement of the engine. What you’re looking for is the “32” stamp on the 2nd line. Great to see this!
I was able to get everything removed and the block/head cleaned up nicely. I plugged all the holes with paper towels to keep things from accidentally getting inside (or kids deliberately putting things inside).


With the engine fully stripped to the long block, I decided to remove the valve cover to take a look at the top end.
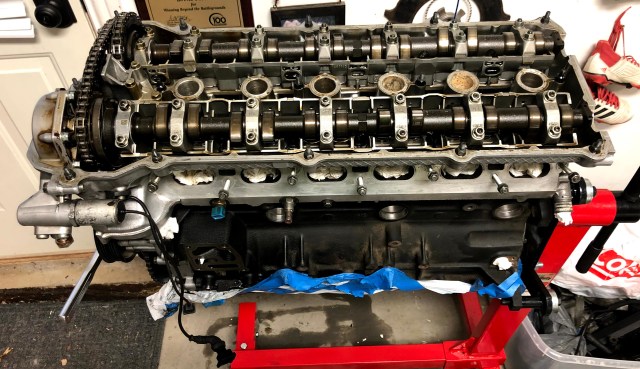
Everything looked great with no sludge or anything. The top end looks to have been taken care of pretty well.
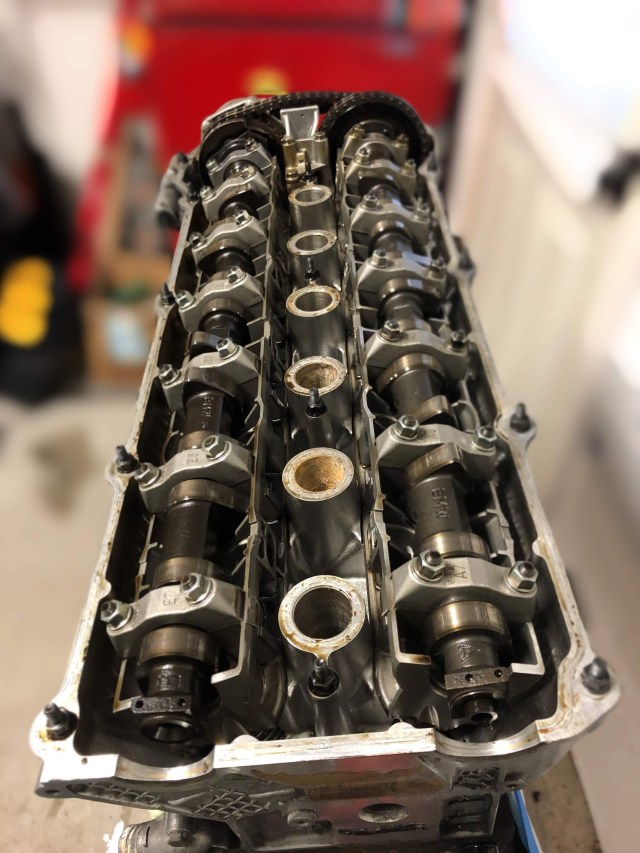
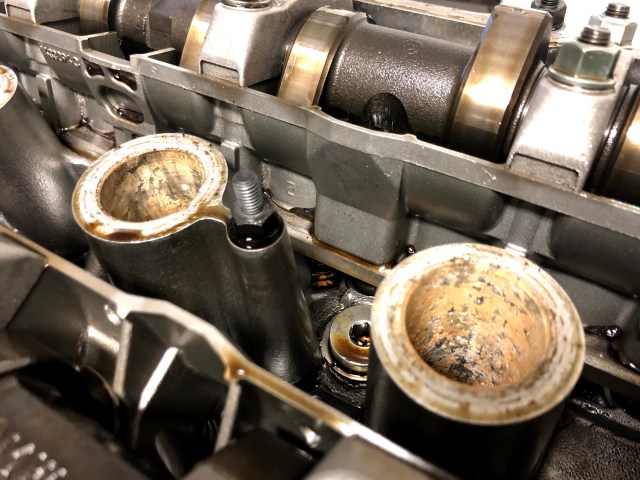
The spark plug tubes are a little corroded but that’s no big deal. I could also see that the S52 has stock style single valve springs (not upgraded dual springs). It also has original BMW S52 camshafts.
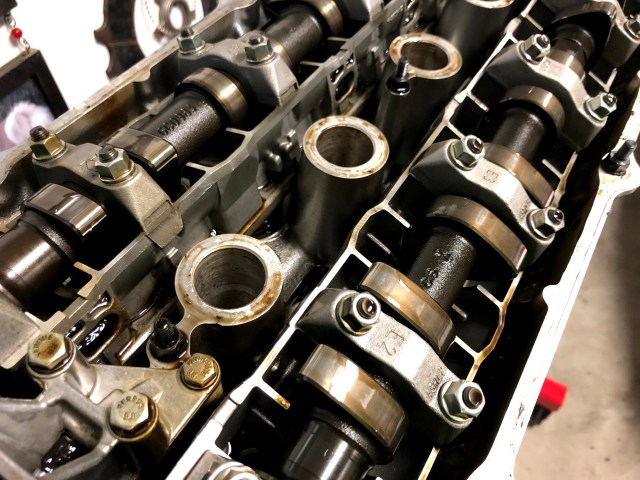
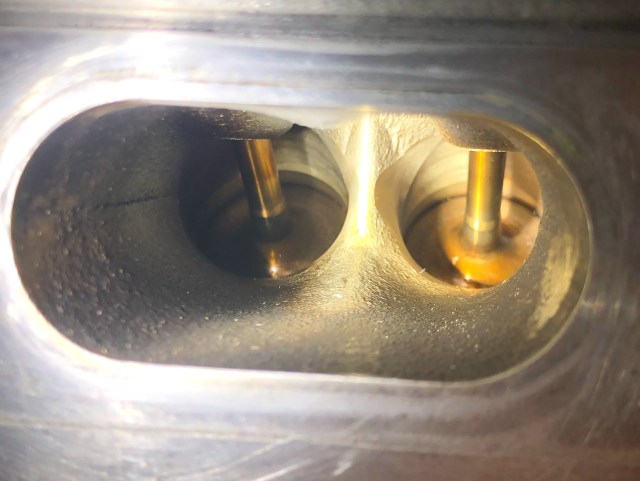
I also took a good look at all the intake ports and valves. They all look great!
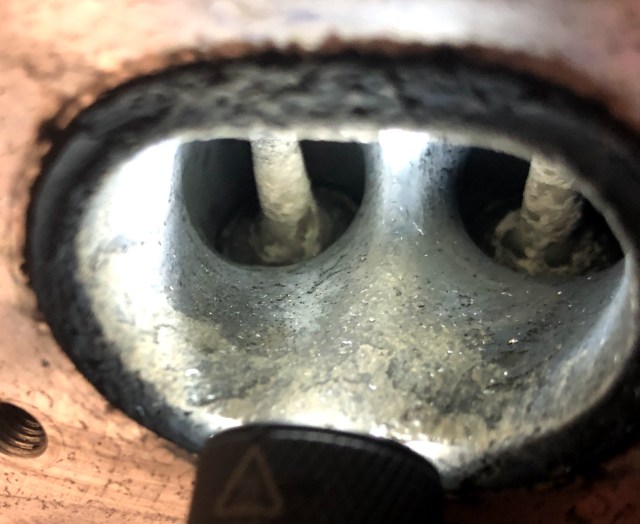
On the other hand, the exhaust ports and valves are heavily carbonized (which is to be expected). Definitely need some cleaning here!
Now that I’ve seen the general state of the S52, let’s get into my future plans:
- Get the cylinder head rebuilt at an expert shop with new high performance dual valve springs, spring retainers and spring seats
- Potentially get new longer duration/higher lift camshafts
- Upgraded water pump
- Aftermarket oil pan baffle welded in
- Connecting rod bearings
- Upgrade the oil pump
- Vanos rebuild
- Big bore throttle body
- Oil cooler system
- Improved coolant expansion tank
- Exhaust headers
- Clutch/pressure plate/flywheel kit
Sequence of major tear-down and build-up events while the engine is on the stand:
- Remove Vanos unit
- Remove cams and pack them up (replace caps)
- Remove hydraulic valve lifters and cam trays
- Clean hydraulic valve lifters
- Remove cylinder head and pack it up
- Clean top of pistons
- Clean up block deck surface
- Remove oil pump and baffle
- Replace connecting rod bearings and use new OEM hardware
- Upgrade oil pump and install with baffle
- Install rebuilt cylinder head (with new head gasket and ARP hardware)
- Install camshafts (with new top tensioner)
- Install vanos unit
- Install valve cover
- Install spark plugs
- Install coils
- Install headers
As you can see, there’s a lot to be done! Stay tuned for the next part of the process where we really start the dissassembly of my S52 engine.
If you liked the information in this page, be sure to check out my Developments page for my most recent posts! Every single post is listed with a link on the Headquarters page.

This Brent Ford guy is nuts!
LikeLike
Great to catch up on your progress and I’m looking forward to seeing this build. If anything, this post shows me that I’m lazy and I need to get back in the garage and get my N54 built!
LikeLike