
As part of the preparations for the S52 swap into my E36, I have to make sure the cylinder head for my S52 motor is well built and ready for boost. When I saw my S52 running in the E30 that is was pulled from, I could see a little smoke coming through the valve cover. Compression checked out well, so the previous owner assumed that it was due to valve seals that needed to be replaced. Also, as discussed in a previous post, I’ll also be running higher rate Supertech valve springs and higher lift Schrick cams in the head. Thus, it make sense to tackle a full head rebuild. However, that’s not something that I’m going to undertake personally due to the specialization involved in the whole process. After a bit of research in local machine shops that specialize in head rebuilds, I decided to go with Heads-By-Drew located in Denver.

Here’s a picture of my head right after it was pulled off of the block. It’s pretty dirty but looked solid with no visible large issues.

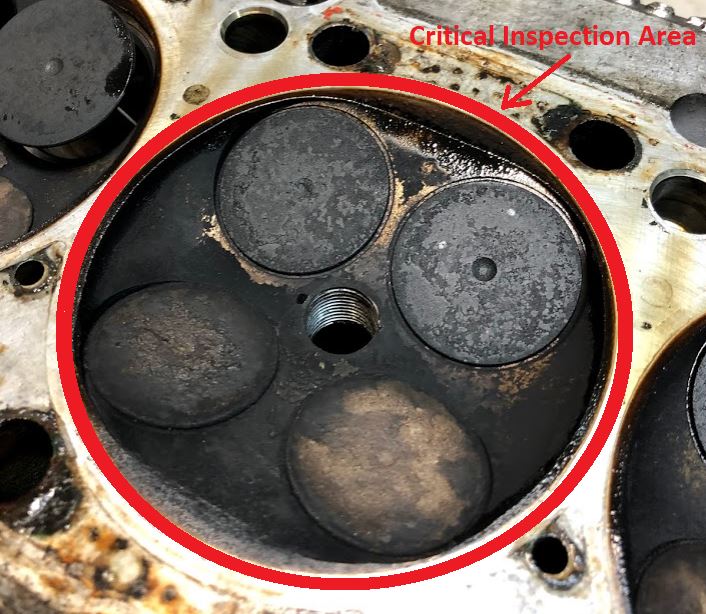
Close-up view of the combustion chamber of the head. You can see a good amount a carbon build-up after what I’m assuming is 100k+ miles.
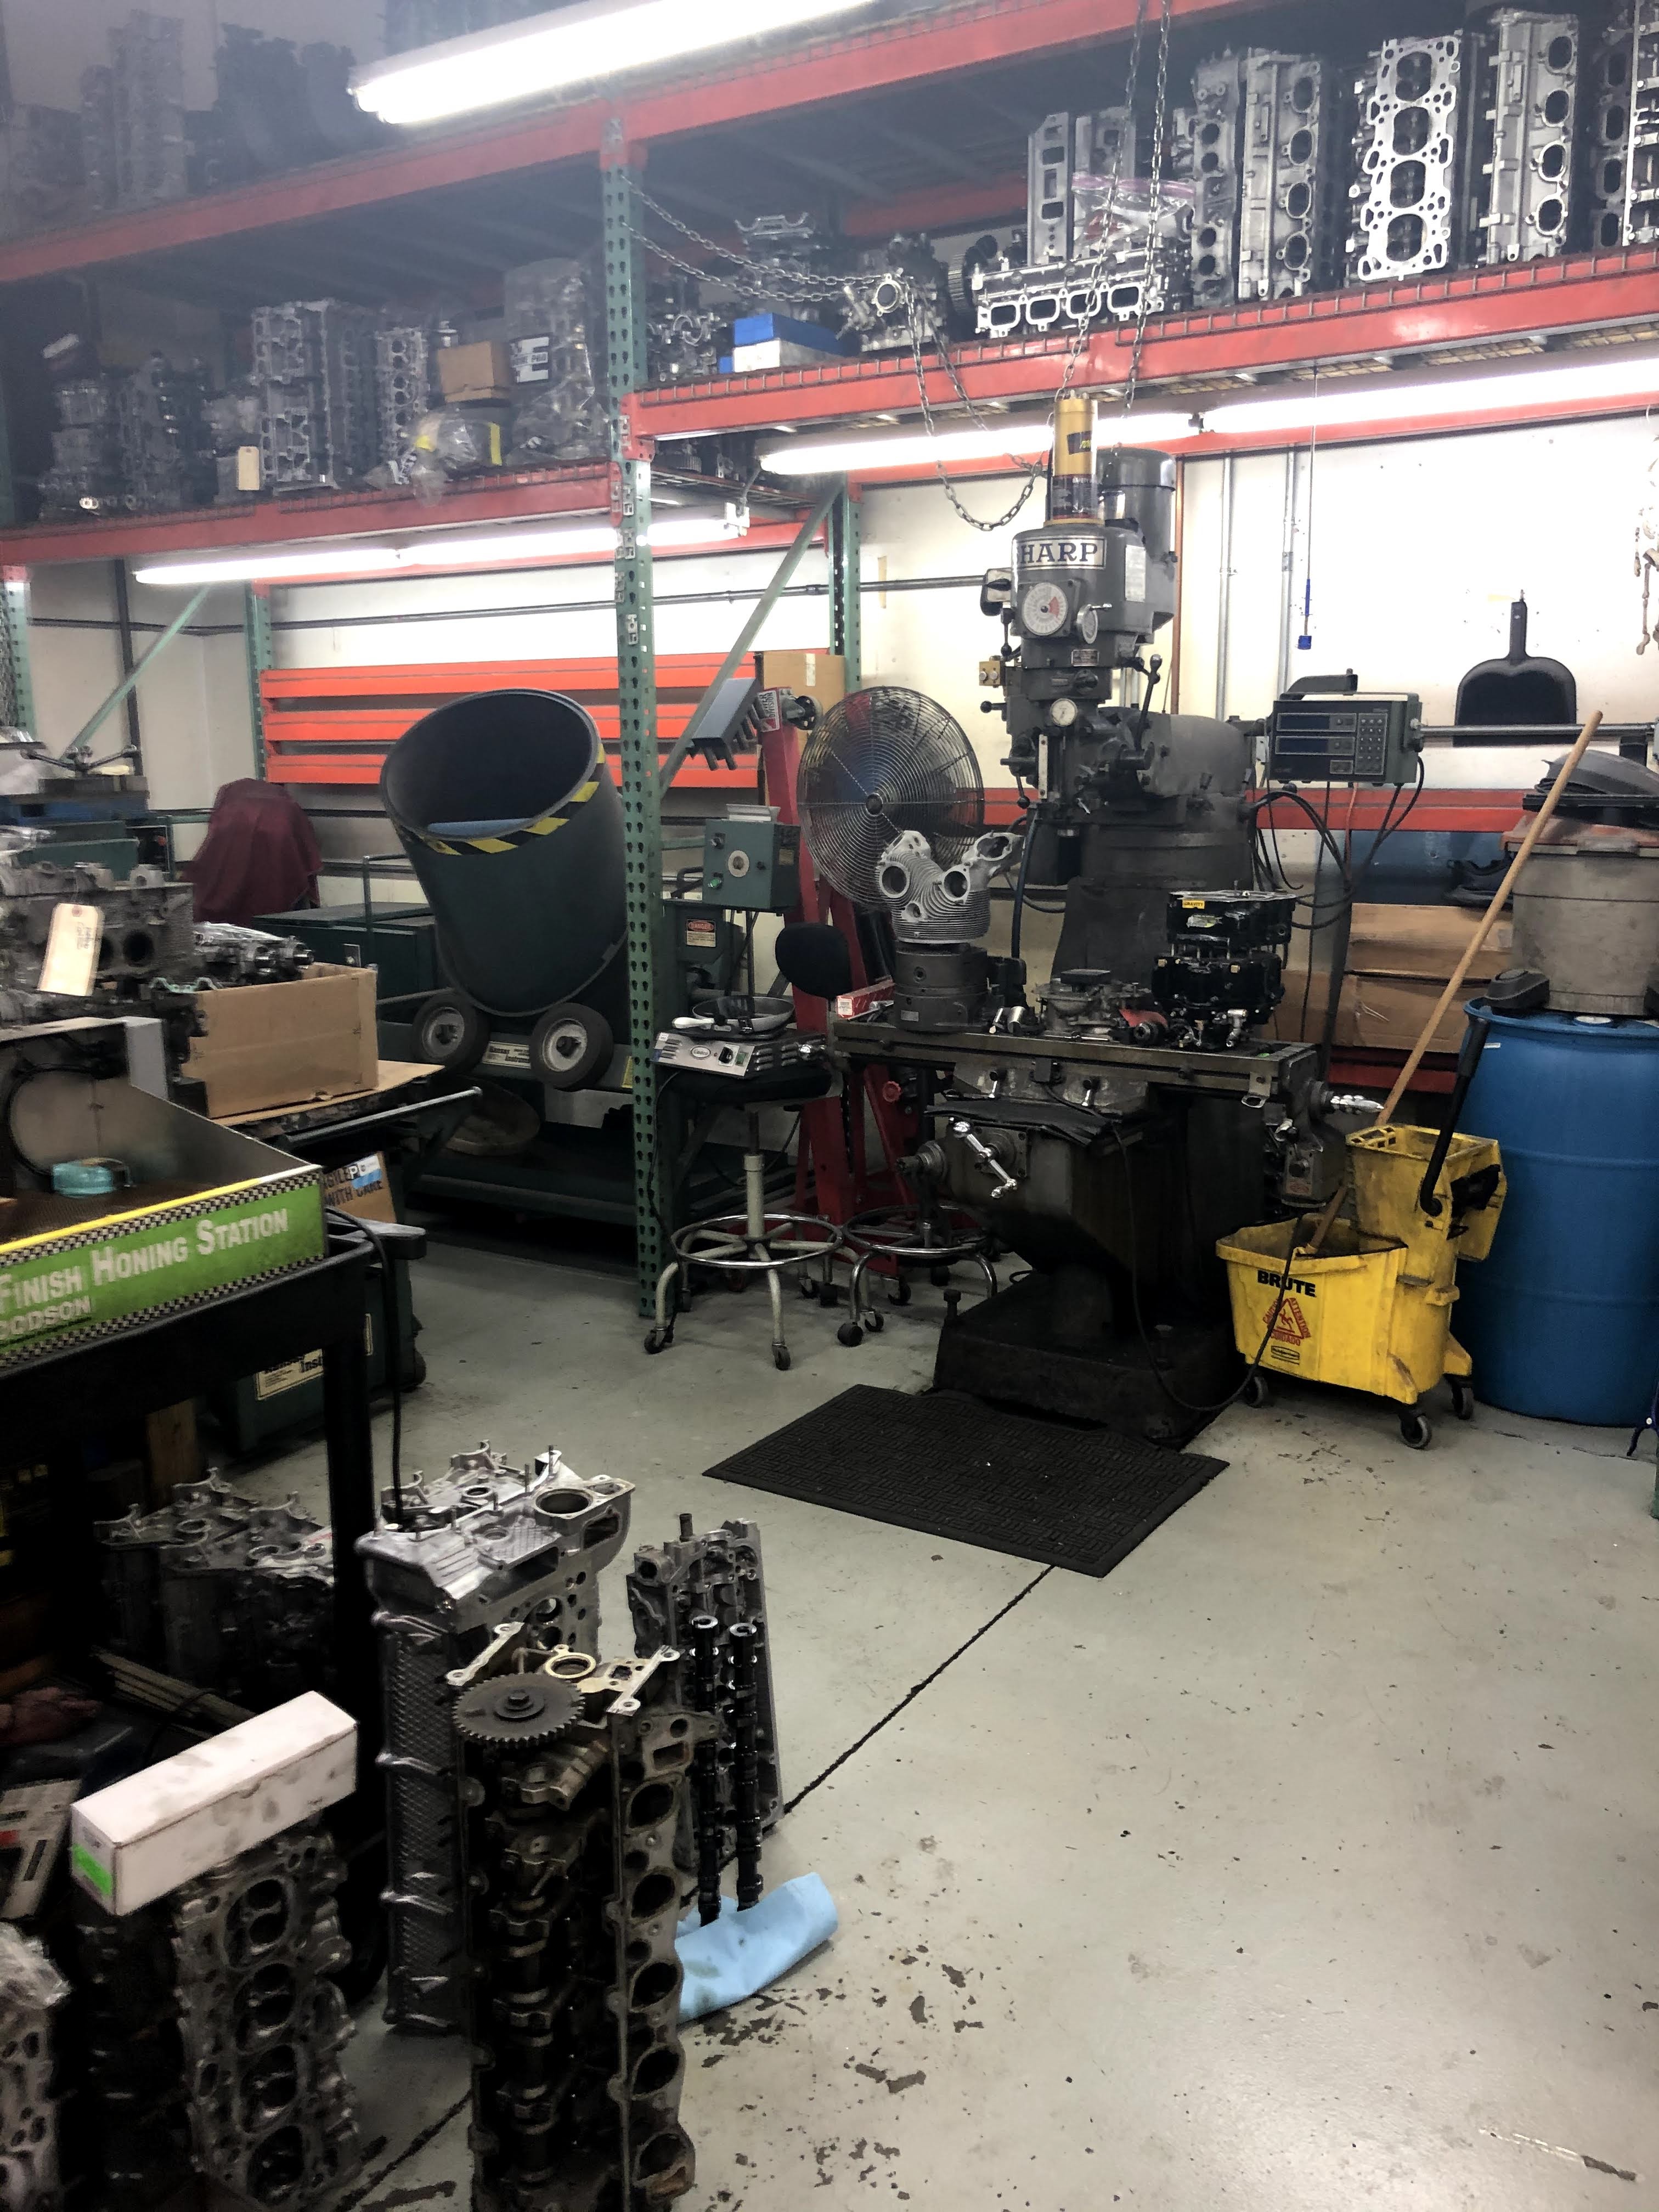
I dropped the head off at Heads-By-Drew. It’s a father and son operation where all they do is rebuild and upgrade automotive cylinder heads. They work on every head you can think of and have tons of experience. They’re also perfectionists and are super nice people. The picture above shows their shop and all the heads that they’re working on currently.
The first step in the process of rebuilding the head is to make sure there are no visible cracks in the head. No point in rebuilding the head if it’s suffering an issue that needs addressing before proceeding. Drew used a magnifying glass station to inspect the area around each combustion chamber for micro-cracks. My head checked out just fine. The head was then disassembled and put into a ultrasonic cleaning bath for major degreasing.

Cutting new valve seats is the next step in the head rebuild process. Valve seats are where the valves seal against the head. They’re important both to seal the combustion chamber effectively and transfer heat from the valves into the head. In the picture above, you can see the cutting tool that’s used for this process and the blue die that’s used to judge material removal. This is a critical process in building a head.

The picture above shows Drew’s head decking station. You deck a head in order to remove a small amount of material to make sure that the head is straight as well as to provide a nice mounting surface for the head gasket. My head was in great shape and very little material needed to be removed.
The next step of the process is to install new bronze manganese valve guides. Valve guides are what keep the valves operating straight along their axis and transfer heat from the valves into the aluminum head. Both of these functions of the valve guides mean that they have to be very straight with very tight parallelism dimensions.

In the picture above, you can see how the valve guide walls erode over time in most cylinder heads. The two bronze valve guide walls should be parallel with one another and the valve stem as well. It’s usually slightly worse at the bottom of the valve guide. Drew said that my valve guides were definitely well worn and that was probably contributing to most of the smoke that was seen in this engine while running. He did say however it was what he typically sees in BMW 6 cylinder heads. Side note, apparently he thinks Subaru engines are the worst when it comes to wearing out valve guides quickly.
Drew said that tolerancing the valve guides, via honing, is the most labor intensive part of the head rebuild process. He actually hones the walls in each valve guide to be within 0.00005″ of each other. It normally takes him about 30 minutes per valve guide to do this. That adds up when you have 24 total valve guides!

The picture above shows the honing station that Drew uses.
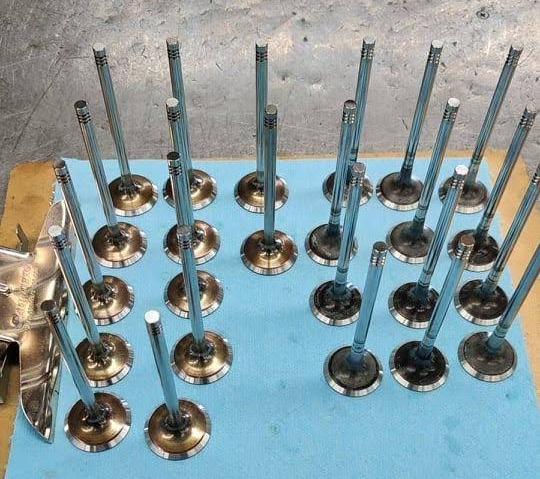
Drew then cleans up each of the valves. I decided to re-use my current valves as none of them were bent or had any structural defects. You can see the shiny surface on the base of each valve where Drew machined a new surface on them. That surface is critical as that’s where they will mate with the cylinder head valve seat.

The valves are then installed into the head and new valve stem seals are installed.

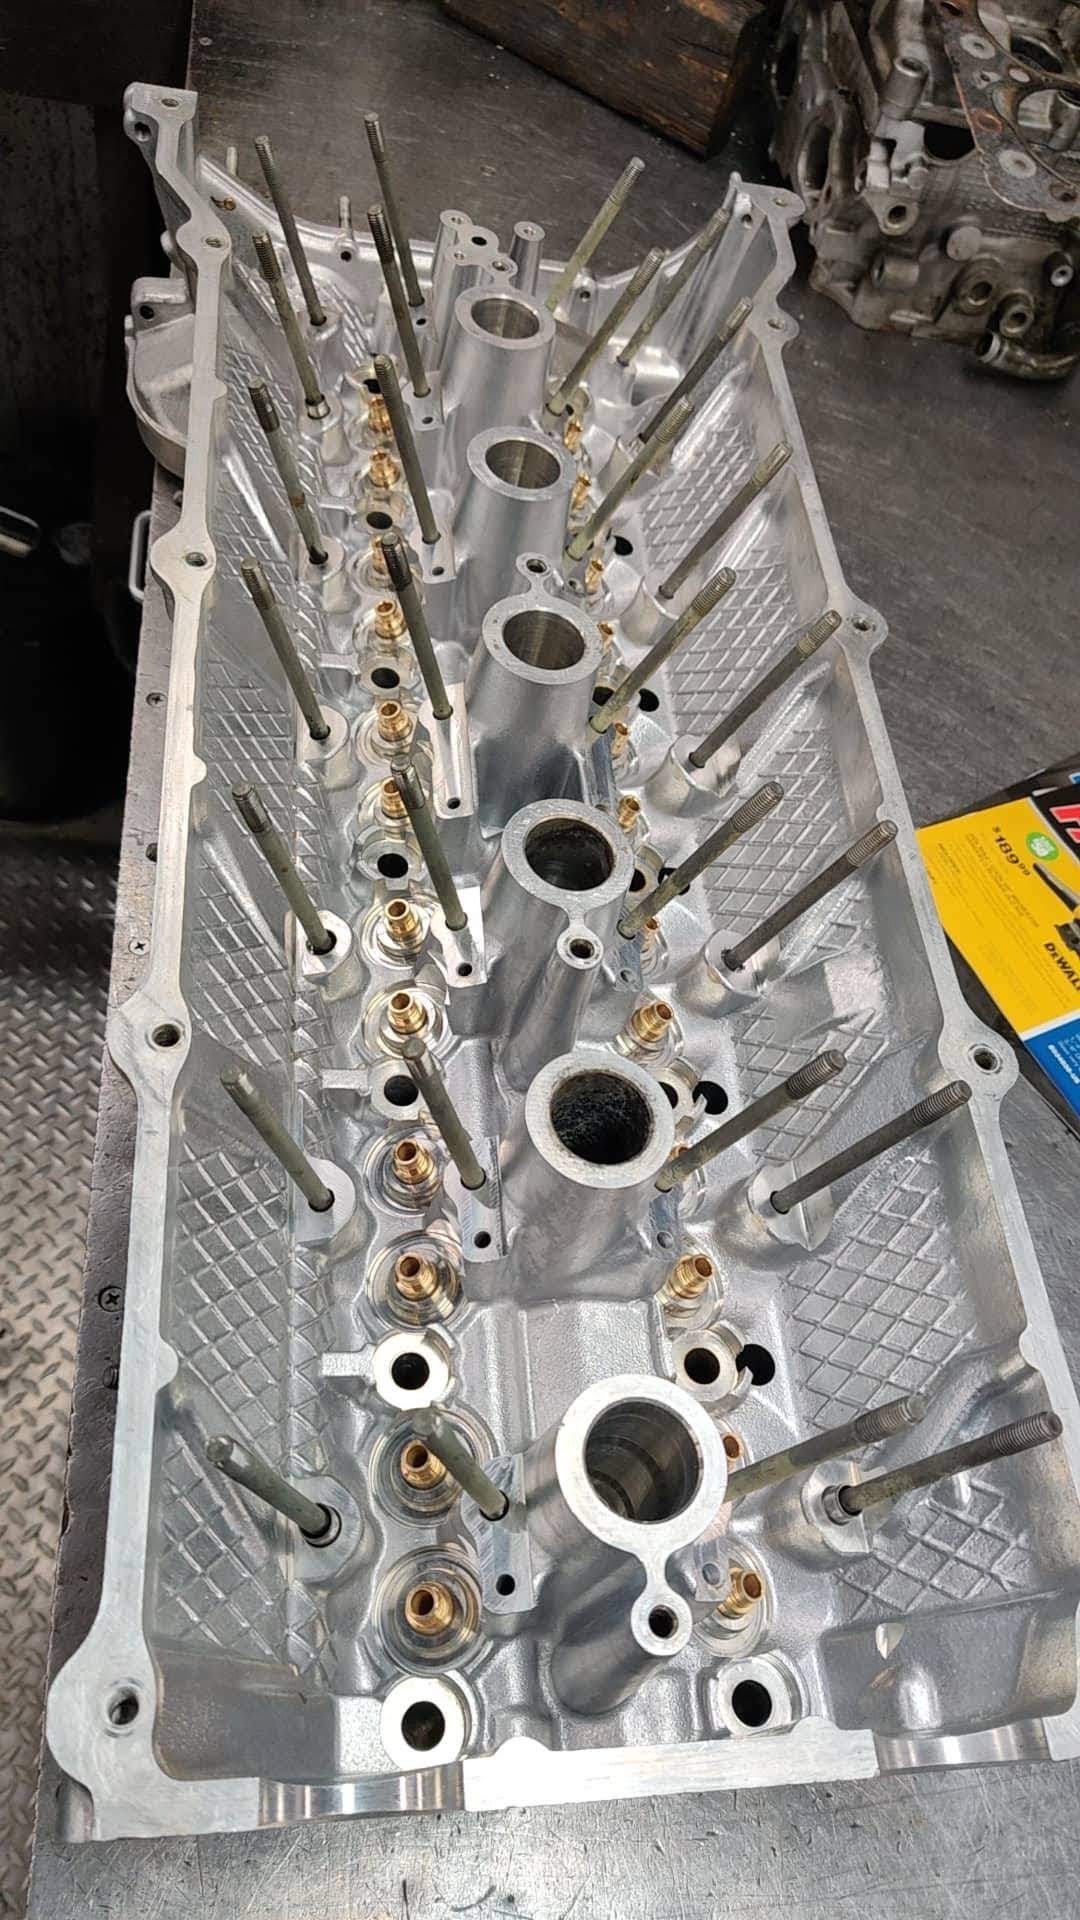
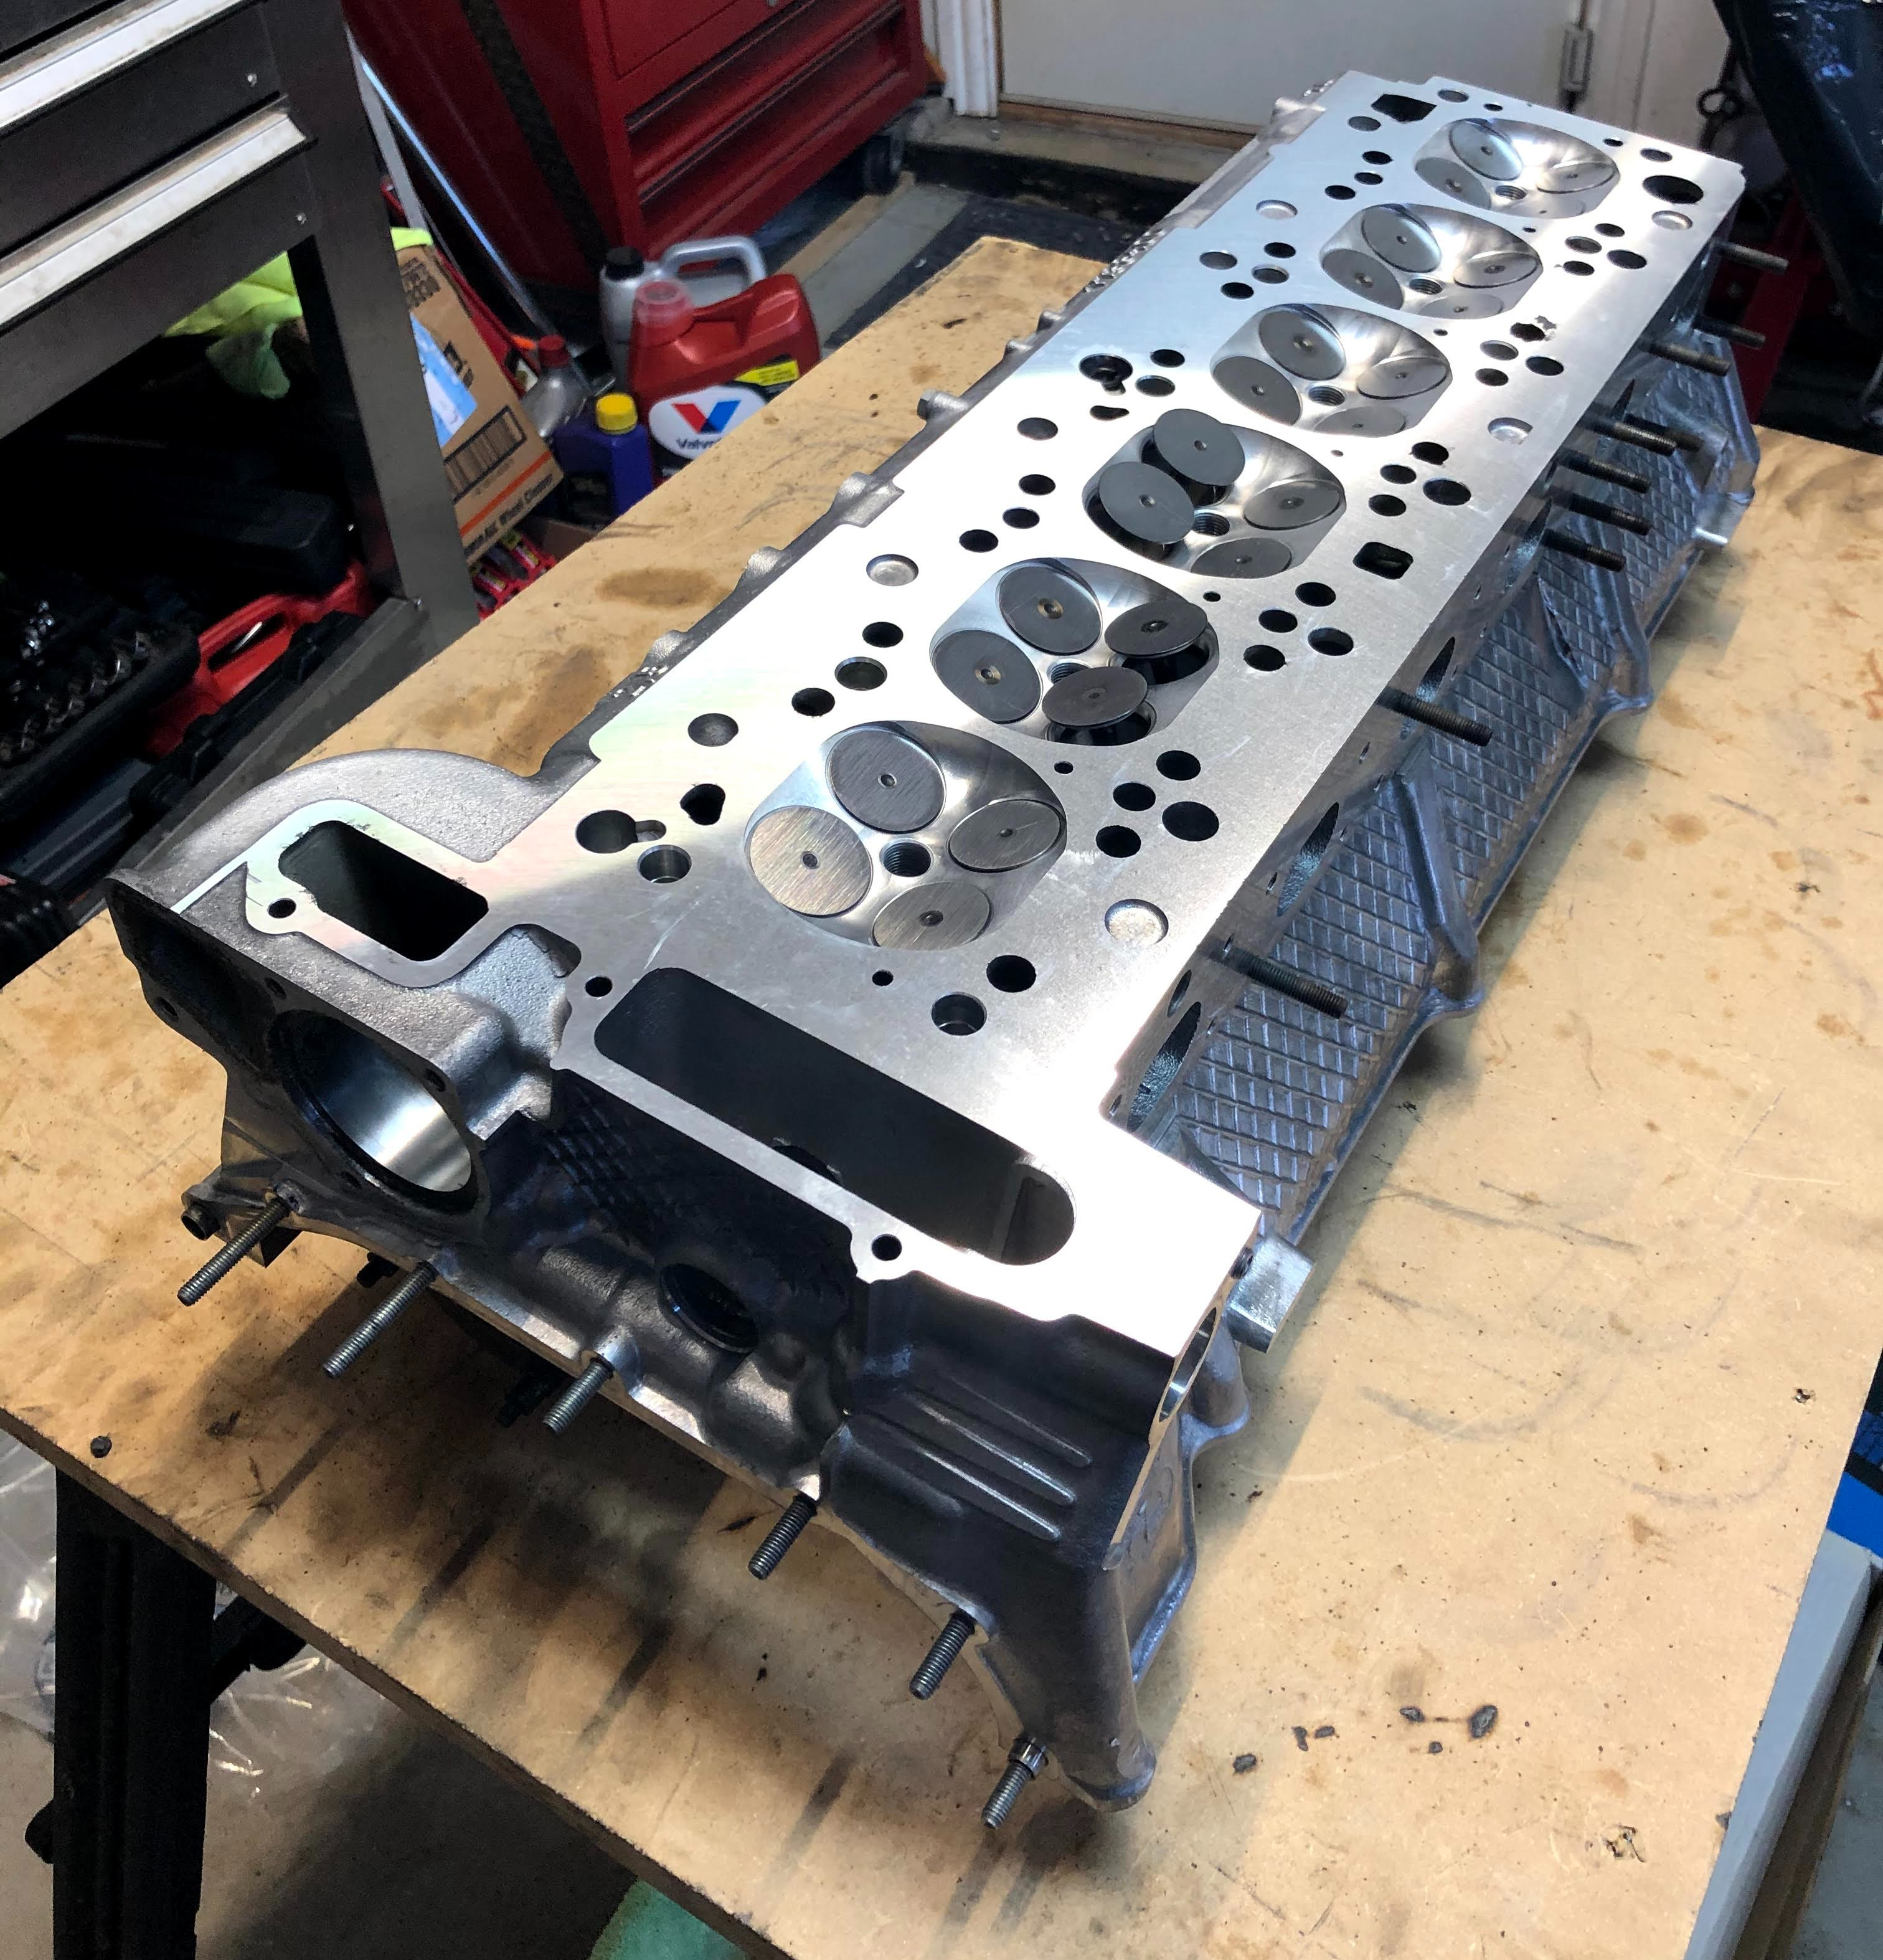
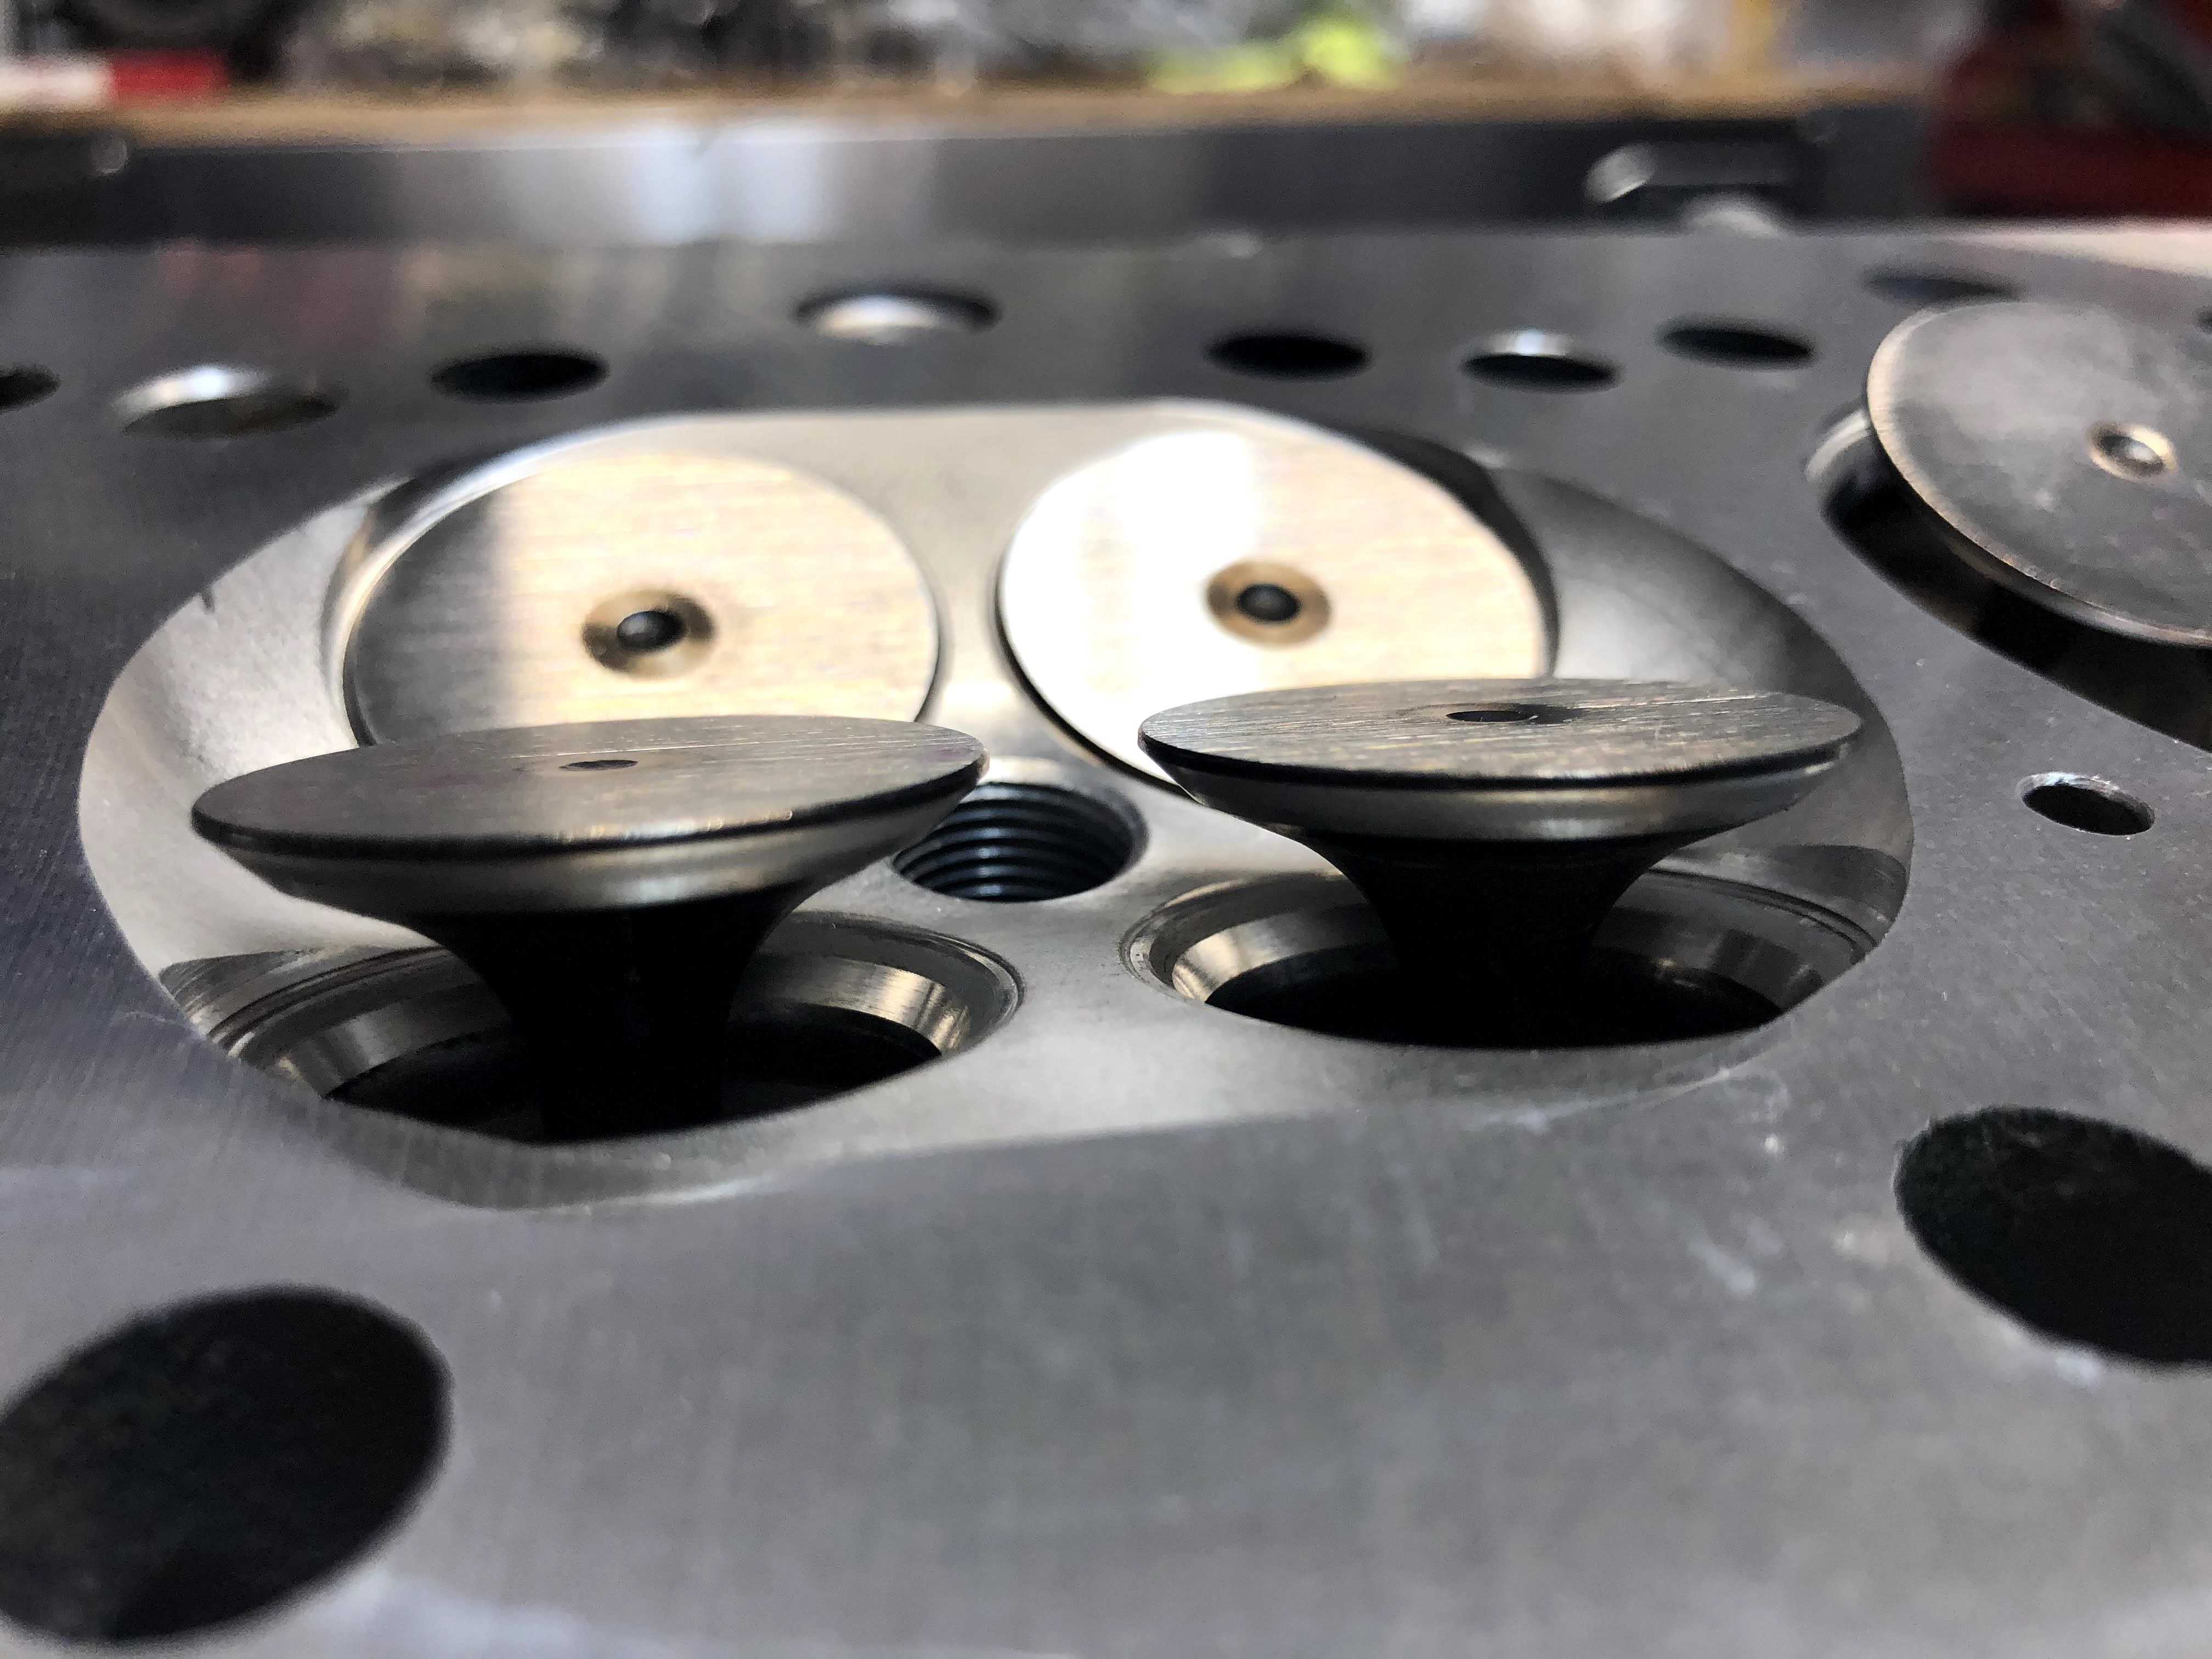
You can see in the picture above how everything is nicely machined and tight fitting in the combustion chamber.

Finally time to install the new Supertech valve springs and titanium retainers.
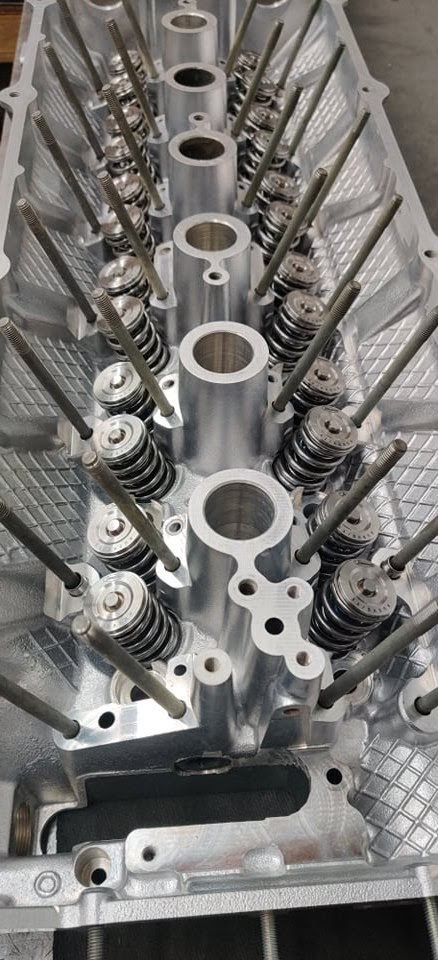
Looking great!
Another view of all the valve springs installed.

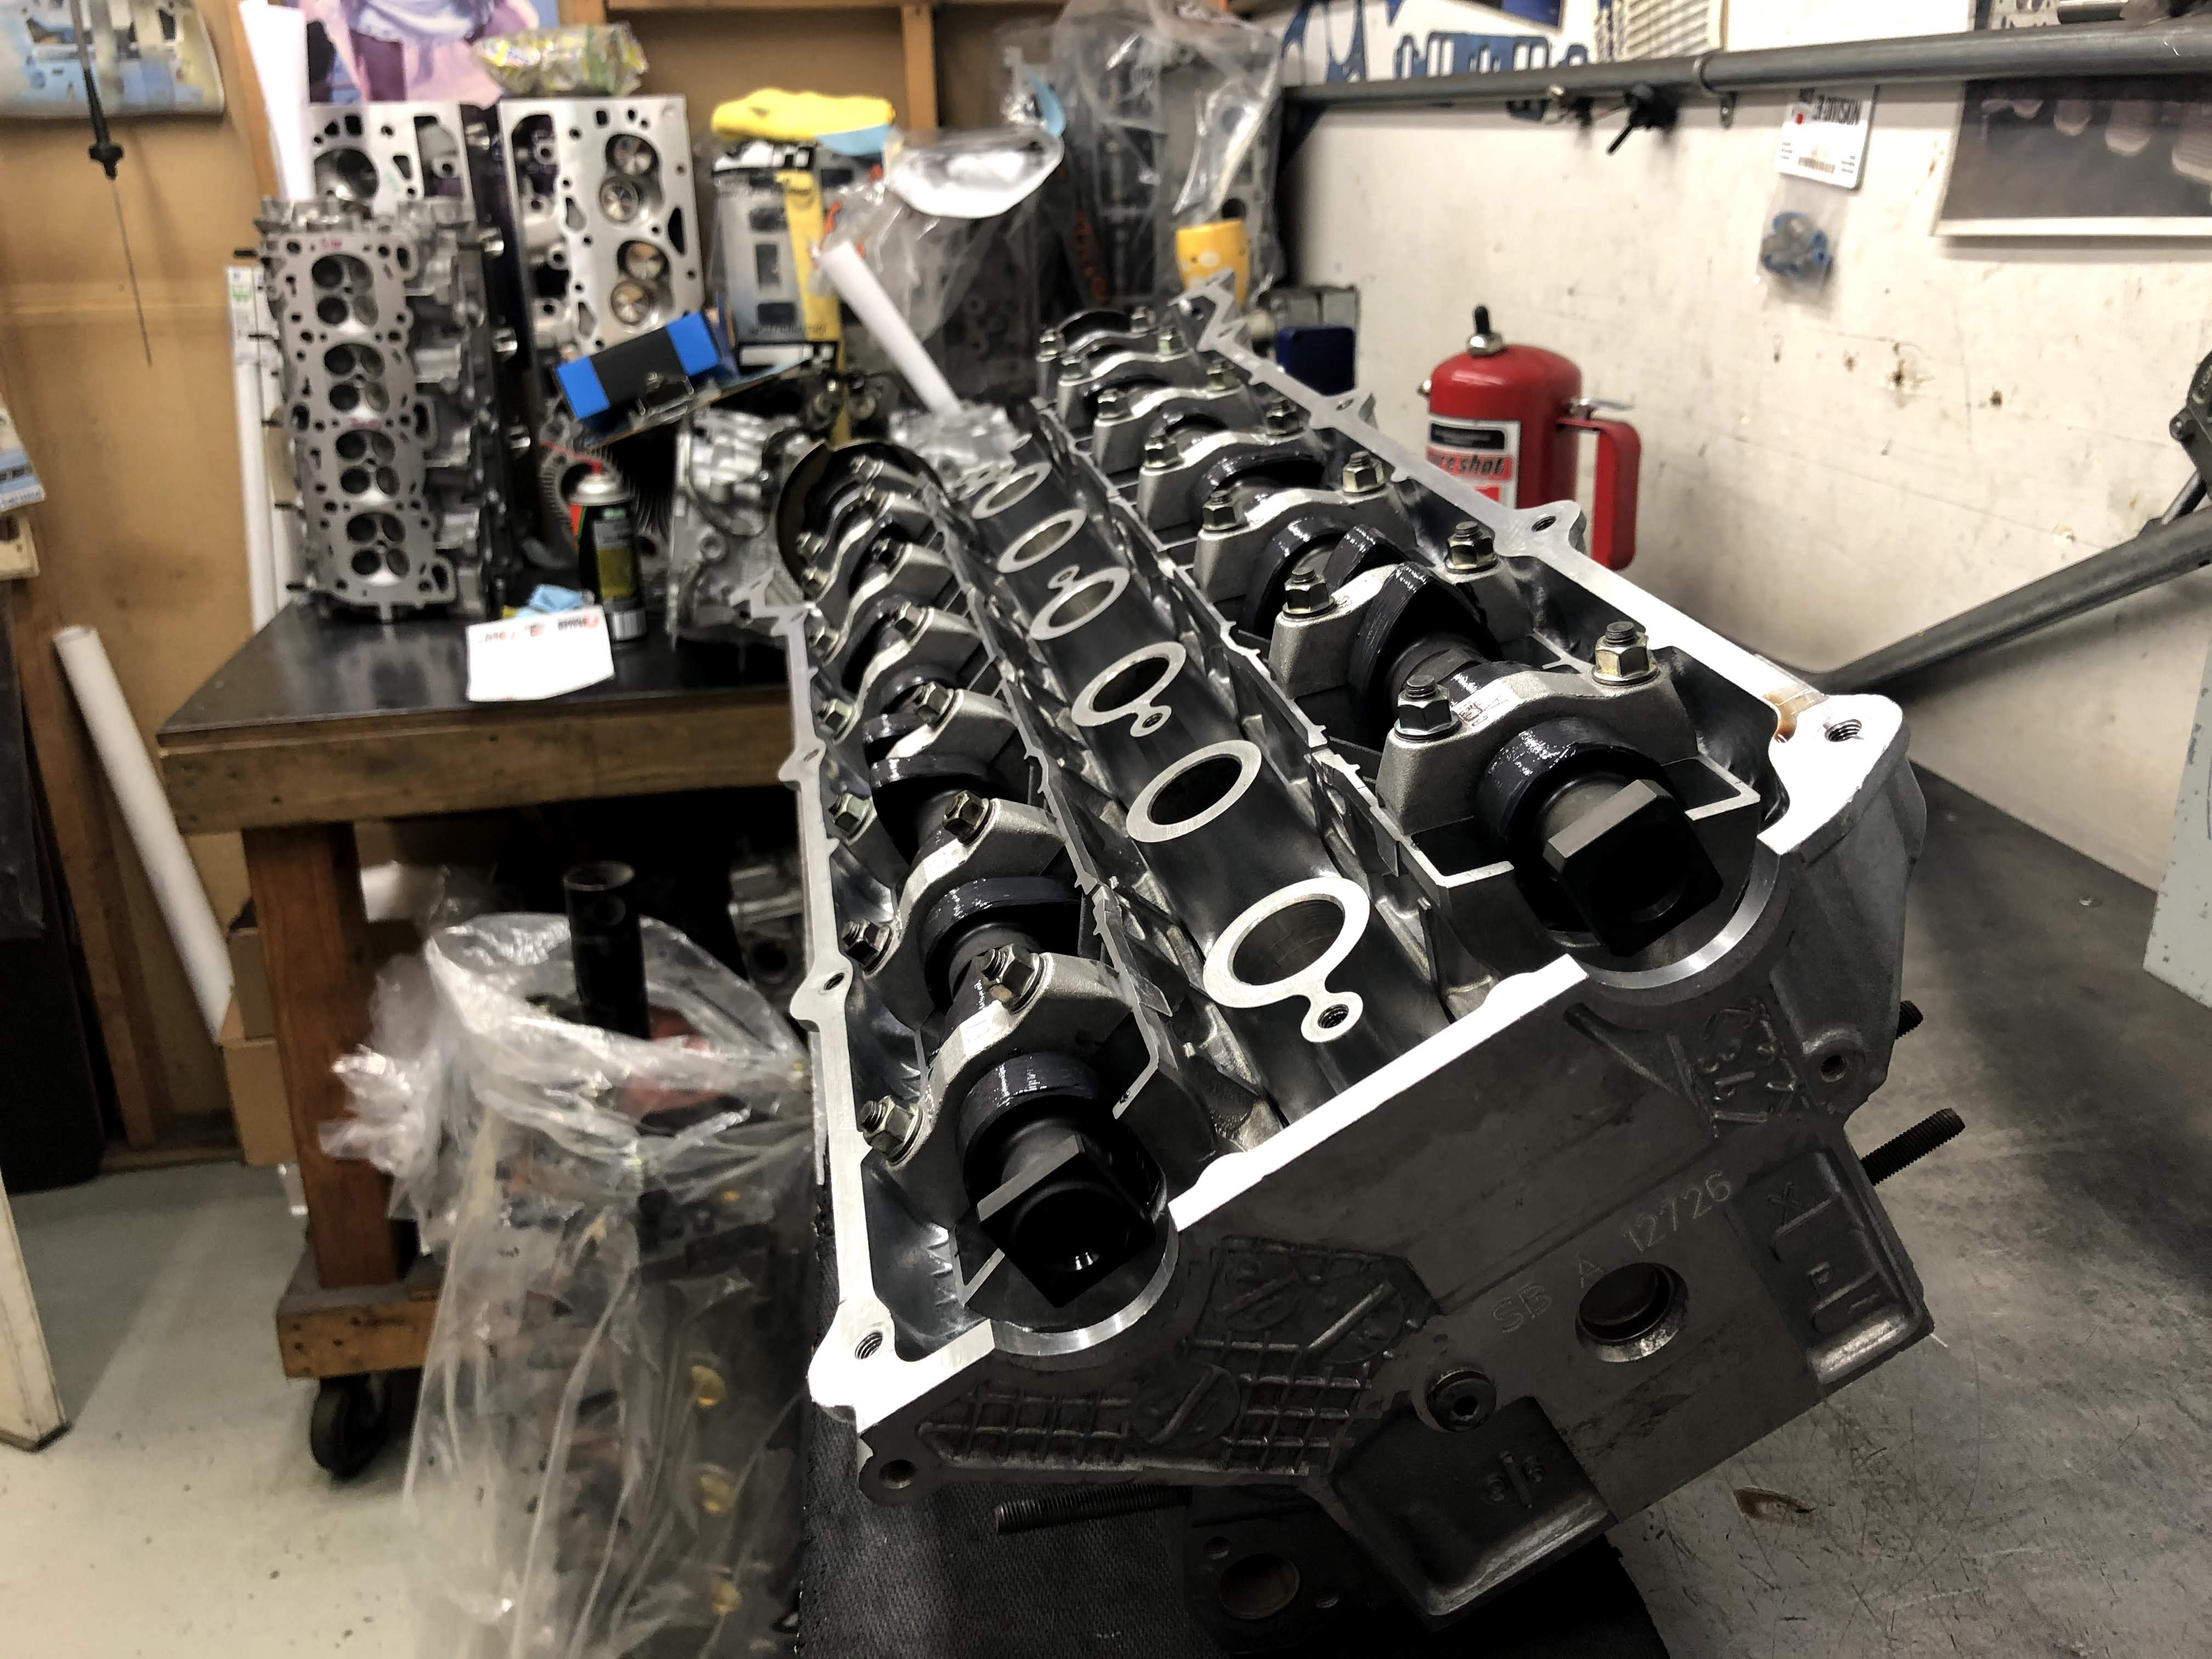
The camshaft carrier, hydraulic lifters, and camshaft can now be installed. The picture above shows the Schrick camshaft just sitting in place on the intake side.

Both camshafts were then installed with the caps tightened down carefully as to not put unequal stress on the camshafts.

The camshaft lobes are then given a liberal coating of camshaft assembly lubricant.
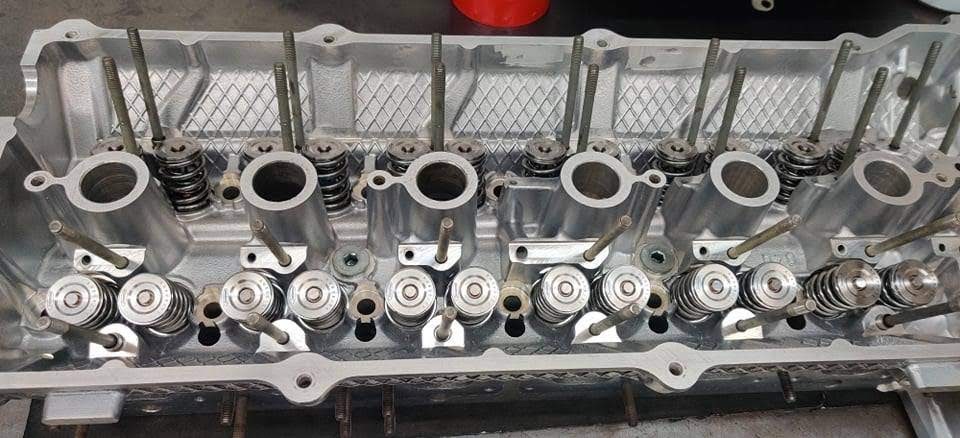
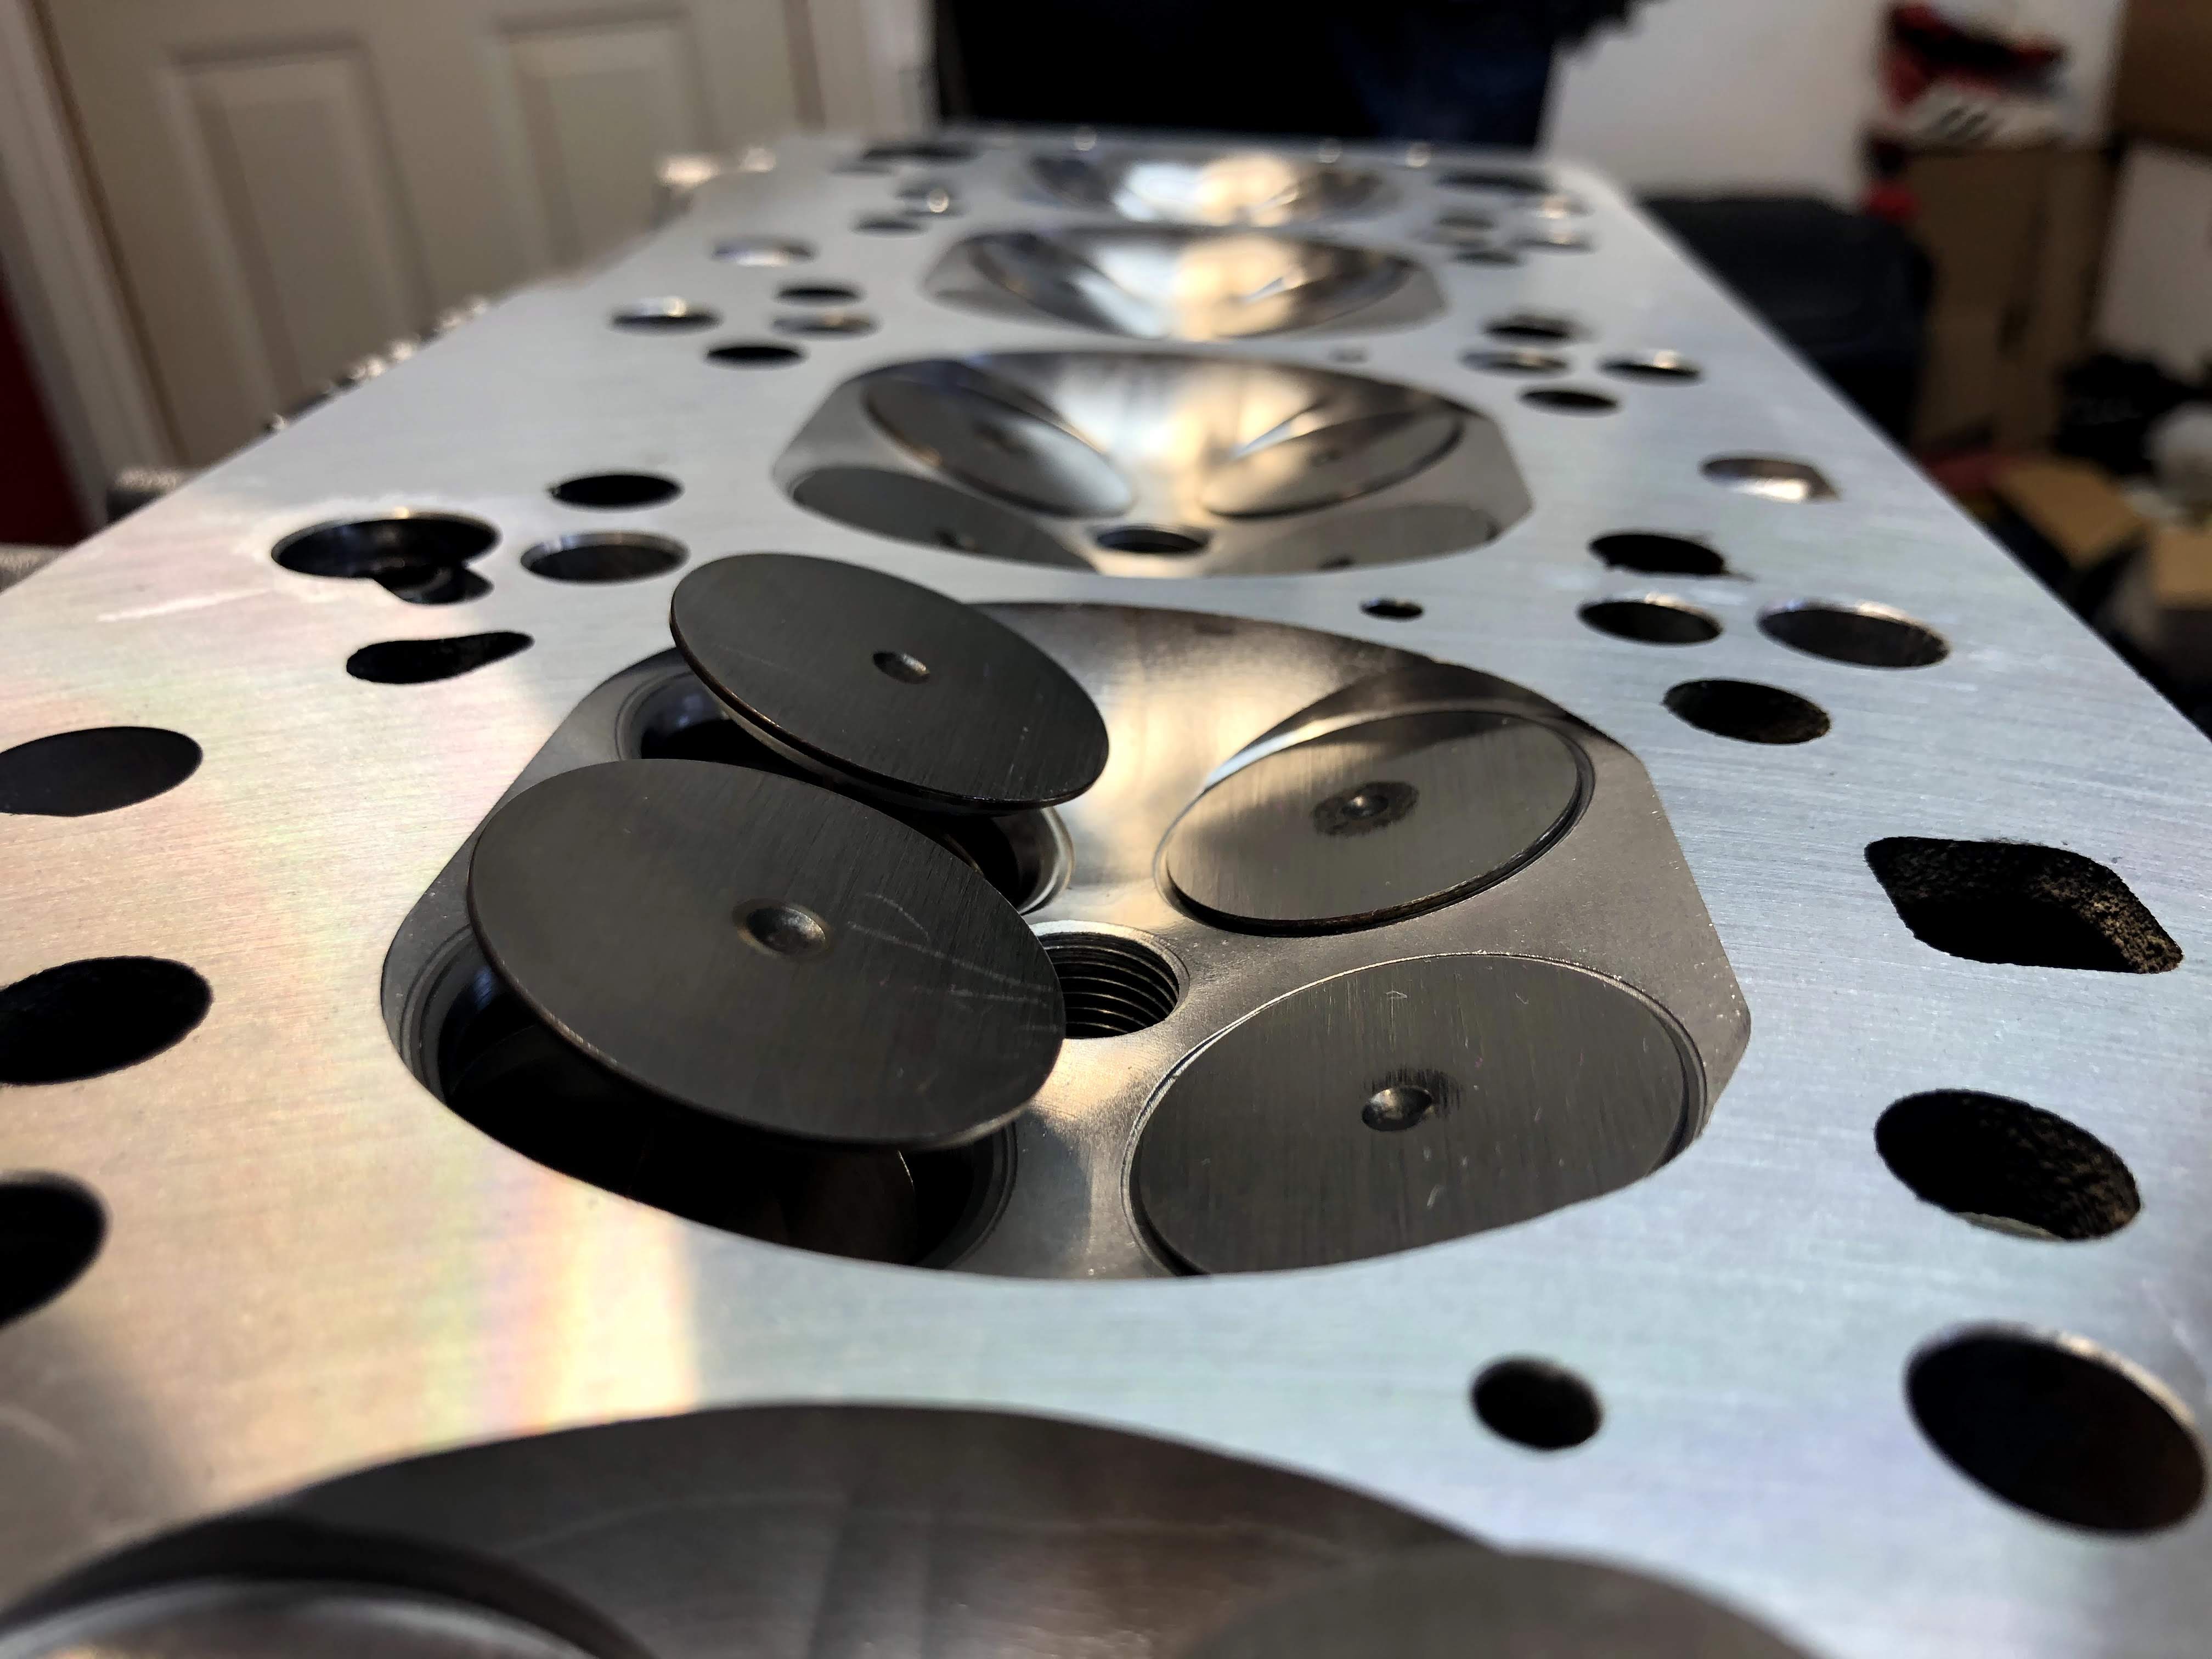
The top end of the cylinder head is looking really good!
But look at the bottom side! A work of art.
Time for a few close-up shots showing the combustion chambers and valve lift from the Schrick cams.

Once the head was fully assembled, Drew then measured a few things to make sure that they were all within spec. Here are the specific things that he measured and the results for my head:
- Valve Stem Installed Height = 1.685″
- Valve Spring Pressure @ Specific Height:
- Closed (Valve Stem Height of 1.430″) = 100 lbs
- 0.400″ Lift = 212 lbs
- 0.450″ Lift = 226 lbs
- 0.500″ Lift = 242 lbs
- 0.630″ Lift = Coil bind
As a reminder, the Schrick 264/256 camshafts that I’m using (Intake 0261E1641-V2 & Exhaust 0261A1561-02) have lifts of 0.441″ on the intake cam and 0.417″ on the exhaust cam. The measurements taken by Drew match up with the stated specifications from Supertech. All good!
I couldn’t be happier with the quality of work performed by Heads-By-Drew on my E36 cylinder head! I have effectively a bullet proof top-end for the my S52 now. On to the next component!
If you liked the information in this page, be sure to check out my Developments page for my most recent posts! Every single post is listed with a link on the Headquarters page.

How much did that job run you? I am looking to have the same done to my head and I am also in the Denver area.
LikeLike
Keith, here’s the breakdown of the pricing that I paid:
– “Rebuild Head” = $945
– “Bronze Manganese Valve Guides (24pcs)” – $168
– “Size Bronze Manganese Valve Guides (24pcs)” – $420
– Supertech Valve Spring Kit (sourced by Drew) – $634
Knowing the attention to detail and labor that went behind the head work, this cost was all well worth it!
LikeLike
Thanks! Really seems pretty reasonable.
LikeLike
This might come in handy if I ever need to rebuild my M52. Thanks!
LikeLike